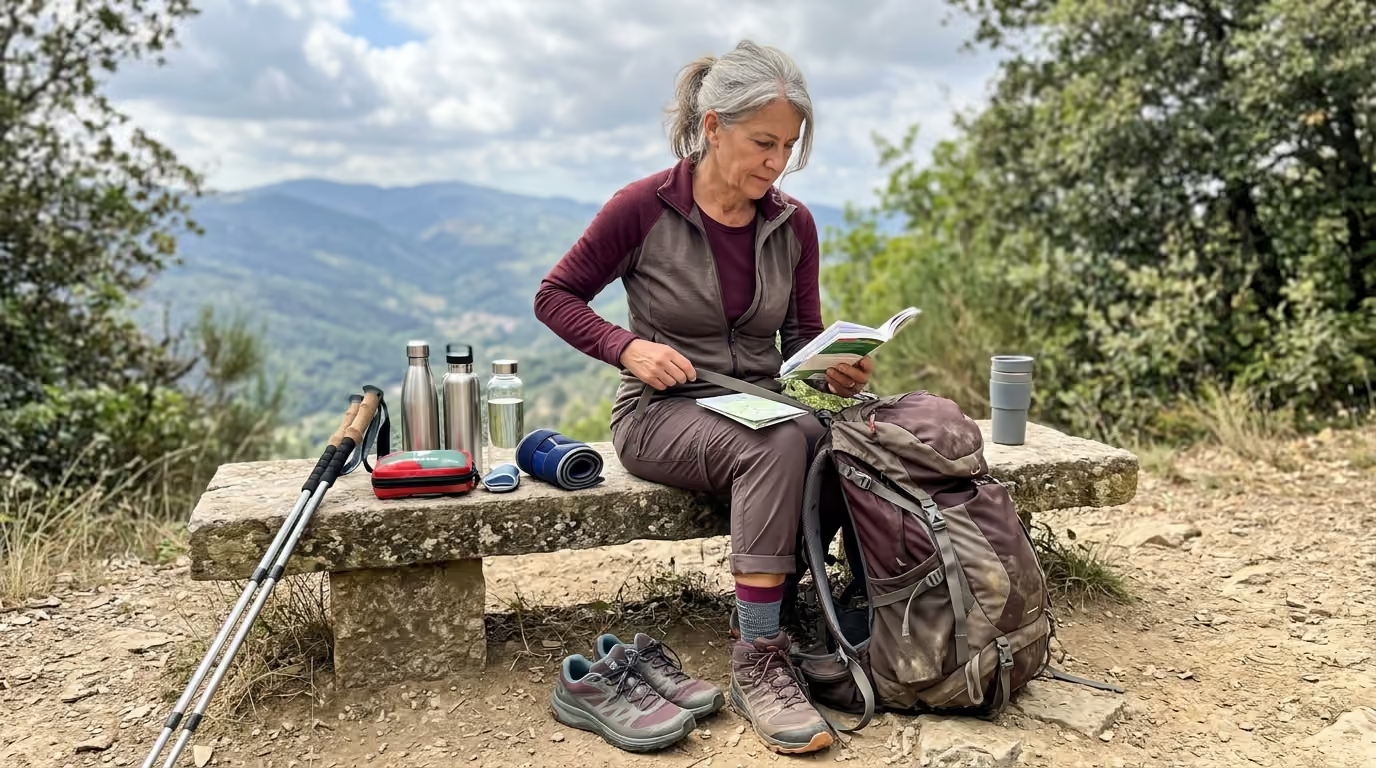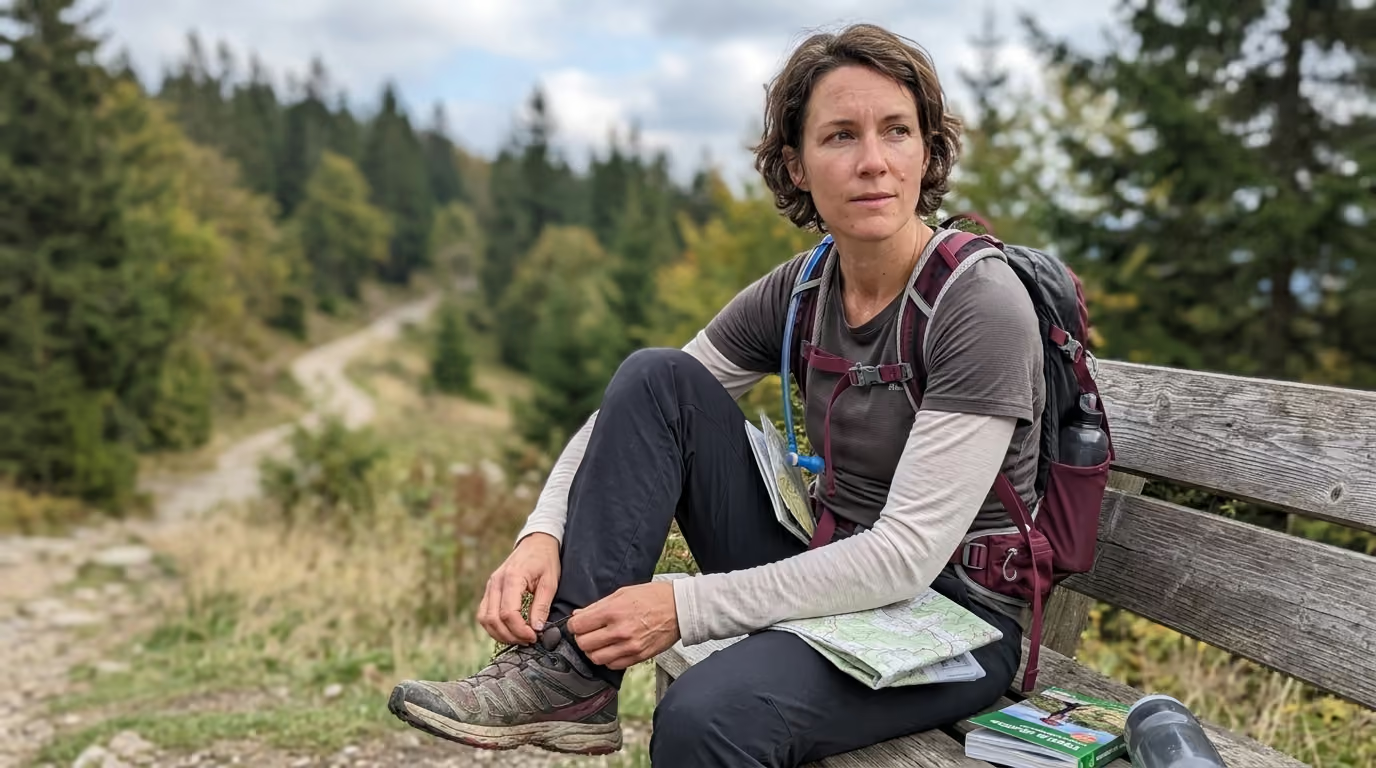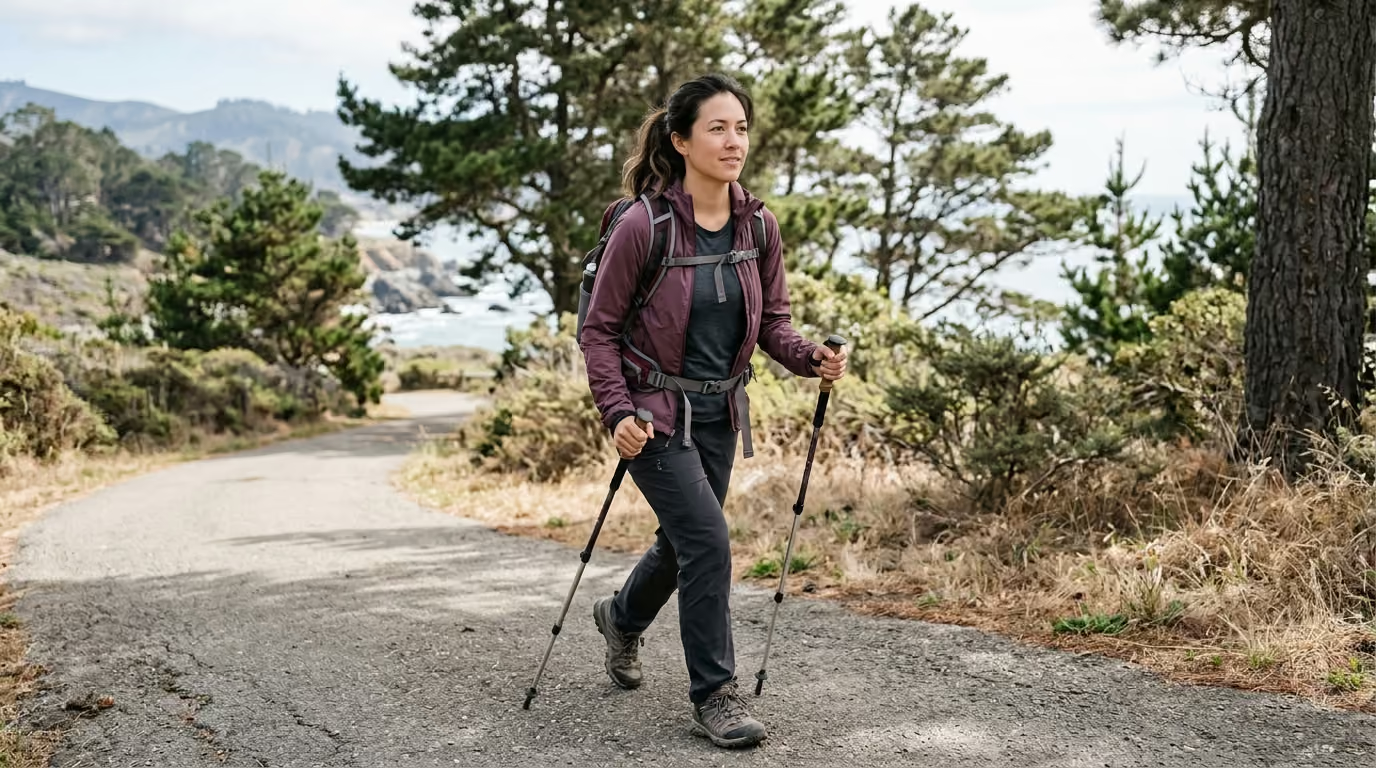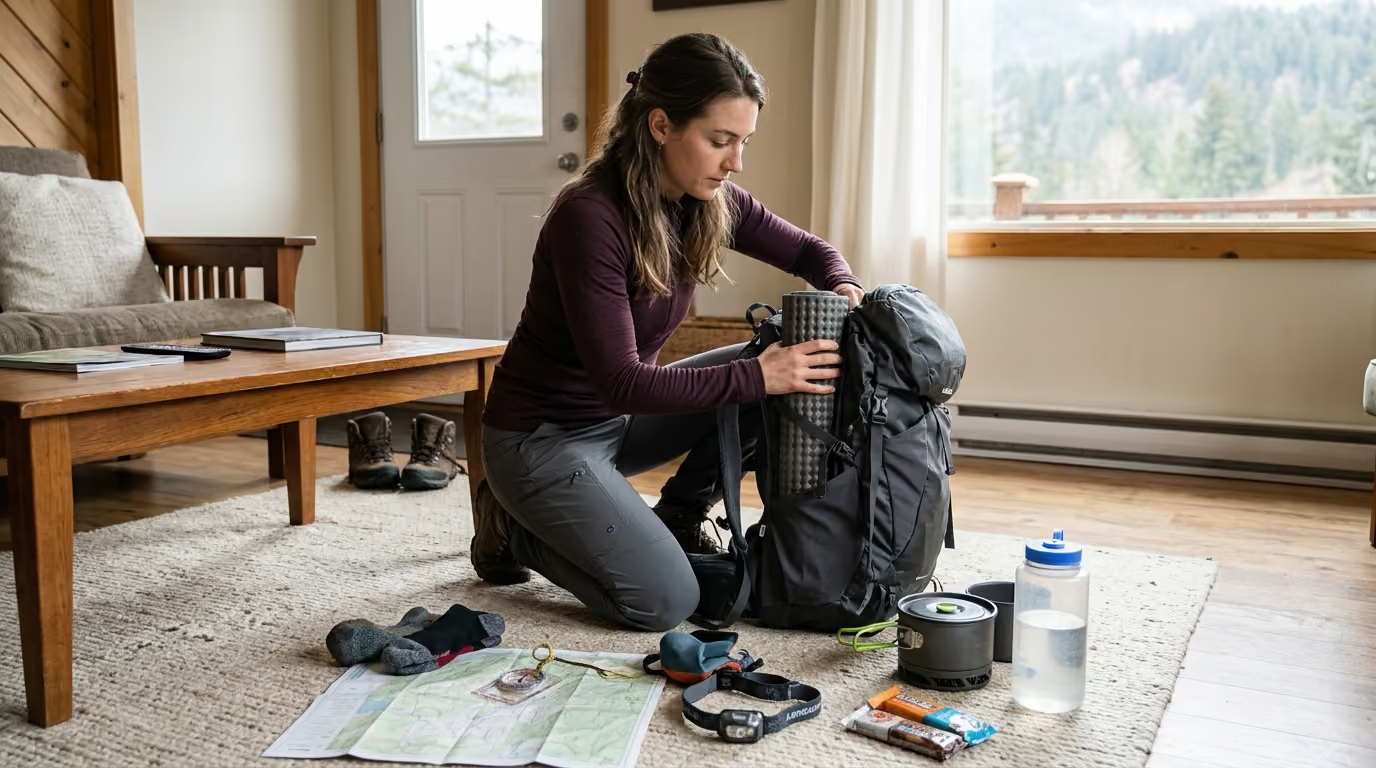

Facing steep mountain climbs and uneven descents requires structured physical conditioning, smart route analysis, and tailored endurance strategies.





Most people evaluate a prospective hike by looking at a single number: total distance. When a trail reads as eight miles, it is easy to assume that regular city walking or gym sessions have prepared you for the day. In practice, distance is often the least significant variable in determining how demanding an outing will feel. A flat ten-mile trail along a graded riverbank requires vastly different muscular output, energy reserves, and joint stability than a four-mile climb across loose scree and exposed granite.
Real trail readiness requires evaluating difficulty as an interconnected matrix. Your body must handle cumulative elevation gain, steep descents, changing weather patterns, shifting pack weight, and unpredictable footing. When these elements combine, a seemingly modest route can overwhelm an otherwise active adult. The National Park Service notes that hikers should choose routes matched to their current capacity and group abilities rather than trusting generic trail ratings alone.
Preparing for the trail is about building durable physical capability. You want to finish a demanding route with enough physical reserve to enjoy the evening and wake up ready for the next adventure. This guide outlines how to assess route demands, construct a progressive physical foundation, manage mountain environments, and plan for real-world wilderness logistics.
For active adults who prioritize longevity and outdoor capability, our comprehensive travel human performance resources provide actionable frameworks for staying capable in demanding terrain across the globe.
Hiking places unique physiological demands on the body that standard flat-ground exercise cannot fully replicate. While walking on pavement relies on predictable rhythmic movements, mountain trails force the body to absorb force across multiple planes while managing sustained cardiovascular strain. Understanding these internal mechanics allows you to prepare your muscles and joints with intention.
Ascending a mountain is primarily a test of concentric muscular strength and aerobic output. Your calves, quadriceps, glutes, and cardiovascular system work together to lift your body mass and pack weight against gravity with every single step. This continuous upward propulsion raises your heart rate, increases core body temperature, and burns through glycogen stores quickly.
Downhill hiking presents the opposite mechanical challenge. Descending requires repeated eccentric muscle contractions, where muscle fibers lengthen under tension to act as shock absorbers. With every step down a steep incline, your quadriceps and patellar tendons must decelerate your entire body weight plus your pack. This braking action creates microscopic damage in muscle fibers at a much higher rate than uphill climbing.
This eccentric loading explains why hikers often feel completely fine while climbing, only to experience severe leg fatigue, knee discomfort, or deep muscle soreness two days later. Without dedicated eccentric strength preparation, long mountain descents can rapidly degrade movement control and balance.
A high VO2 max or exceptional cycling fitness does not automatically guarantee comfortable mountain hiking. General cardiovascular fitness supplies oxygen to working tissues, but trail performance relies equally on local muscular endurance in stabilizing muscles. Small balance corrections across wet roots, loose gravel, and uneven rock steps continuously recruit the ankles, hips, and deep spinal stabilizers.
When local muscular endurance is depleted, movement efficiency drops quickly. Fatigued leg muscles lose their ability to absorb impact cleanly, shifting mechanical stress directly into the knee joints, hips, and lower back. Maintaining functional stability late in the afternoon requires training the exact movement patterns and load-bearing postures used on the trail.
Proper conditioning must also be supported by thoughtful recovery strategies to allow tissues to adapt to repeated eccentric stress without accumulating chronic inflammation.
Environmental exposure dramatically alters your body's energy expenditure and fluid balance. Ascending steep terrain in warm weather forces your body to divert significant blood flow to the skin for evaporative cooling, which raises heart rate and accelerates dehydration. In cold or windy mountain environments, your metabolic rate increases simply to maintain core body temperature.
Fluid management requires a balance between water and electrolytes. According to research from the Wilderness Medical Society, both severe dehydration and overhydration can cause serious medical issues on the trail. Exercise-associated hyponatremia occurs when hikers consume excessive volumes of plain water without adequate sodium replacement, diluting blood sodium levels to dangerous thresholds. Preparing for a hike requires understanding your personal sweat rate and planning a balanced electrolyte strategy.
A reliable trip plan begins with comprehensive route analysis. Before you lace up your boots or pack a bag, you need to understand the precise physical and logistical profile of your chosen trail.
Clarify the scope and intention of your outing. A four-hour recreational day hike in a state park requires different physical readiness, gear, and contingency planning than a multi-day alpine trek.
Consider the following core categories:
Setting a clear objective establishes your baseline requirements for aerobic fitness, gear selection, weather tolerance, and emergency buffers.
Never rely on total trail distance as your sole data point. Two routes of identical length can present radically different physical challenges based on their topography and surface conditions.
Collect and record the following metrics before every trip:
A trail that climbs 3,000 feet over three miles presents a far greater physiological challenge than a ten-mile trail with gentle rolling hills. Recording cumulative elevation loss is equally vital, as steep descents dictate joint stress and descent pacing.
Estimating trail time accurately is essential for safety, daylight management, and energy preservation. A standard flat walking pace of three miles per hour is rarely achievable on mountainous terrain.
Your time calculation must account for:
Always pace the trip to the slowest member of your group. When traveling in remote areas, a group moving at the speed of its least prepared member prevents separation, exhaustion, and poor decision-making. Establish a firm turnaround time before leaving the trailhead, and commit to returning once that time is reached regardless of distance to the summit.
Compare your collected route data against your current physical capacity. Ask yourself realistic questions about your conditioning and joint health:
If any area reveals a significant gap between trail demands and your current capability, adjust the route or implement targeted training before attempting the trip.
Preparing your body for demanding hikes requires a structured, multi-phase progression. Sudden spikes in mileage, vertical gain, or pack weight are primary drivers of overuse injuries in active adults.
Building durable mountain fitness is best approached through systematic functional fitness and conditioning that prioritizes tissue adaptation, balance, and sustained aerobic output.
For adults returning to hiking after a period of lower activity, the primary goal is establishing consistent movement patterns without joint irritation.
Consistency in this early phase builds the vascular network in working muscles and prepares tendons for higher loads.
The World Health Organization and the Centers for Disease Control and Prevention recommend that adults accumulate 150 to 300 minutes of moderate-intensity aerobic physical activity per week.
Developing a broad aerobic base increases mitochondrial density in muscle fibers, allowing your body to burn fat efficiently and spare muscle glycogen on long hikes.
Once your aerobic base is established, integrate targeted resistance training to build the power and stability required for climbing and descending. Research shows that adults benefit significantly from muscle-strengthening activities involving all major muscle groups at least two days per week.
Integrate these essential strength movements into your routine:
Complement your gym work by introducing outdoor hills, stairs, or incline treadmill walking. Start with modest inclines and gradually increase vertical gain while keeping your heart rate within a controlled, steady zone.
Trail readiness requires training on the exact surfaces and with the specific loads you will encounter outdoors. Treadmills and smooth tracks cannot replicate the balance challenges of outdoor trails.
This phase teaches your neuromuscular system to make rapid micro-adjustments on uneven ground, reducing the risk of rolled ankles or balance loss on complex trails.
Two to three weeks before your target trip, complete a rehearsal hike that closely mirrors the demands of your objective.
During the final seven to ten days before your trip, reduce your training volume by 40 to 50 percent while maintaining movement quality. Use this taper period to ensure your muscles are fully restored, glycogen stores are topped off, and lingering fatigue is eliminated.
Even experienced active adults can fall into common cognitive traps when preparing for the wilderness. Addressing these assumptions protects your safety and ensures a positive mountain experience.
Because descending places minimal demand on the cardiovascular system, many hikers treat the downhill return as an easy coast back to the car. In reality, sustained descents generate high mechanical stress. The repeated eccentric braking forces quadriceps and connective tissues to absorb several times your body weight per stride. Treat the descent with the same respect and focus as the climb, maintaining steady foot placement and controlled posture.
Many trail accidents involve day hikers who carried only a single water bottle and a light jacket, assuming they would return before evening. Sudden weather shifts, twisted ankles, or missed trail junctions can quickly extend a four-hour walk into a twelve-hour ordeal. Carrying baseline insulation, illumination, extra nutrition, and emergency shelter ensures that an unexpected delay does not turn into a medical emergency.
Smartphones are powerful tools, but they are fragile wilderness instruments. Cold temperatures drain phone batteries rapidly, GPS tracking accelerates power loss, and dense canopy or deep canyons block satellite and cellular signals. The National Park Service explicitly emphasizes that a mobile phone is never a substitute for physical navigation tools and proper wilderness essentials. Always carry a physical map, a magnetic compass, and a dedicated backup power bank.
A dedicated marathon runner or indoor cyclist possesses exceptional heart and lung capacity, but trail hiking introduces unique physical loads. Moving across loose talus with a loaded pack demands ankle mobility, core stability, and eccentric knee strength that running on smooth roads does not develop. Respect the specific movement patterns of the trail by practicing on natural terrain before tackling major objectives.
The common training guideline advising athletes never to increase training volume by more than ten percent per week is a helpful conservative heuristic. However, it is not an inflexible scientific law. Progression should be dictated by your individual recovery capacity, sleep quality, joint comfort, and movement quality. If fatigue accumulates or minor aches emerge, holding volume steady or taking an active recovery week is far smarter than blindly following a rigid mathematical formula.
You do not need to spend twenty hours a week in the gym to develop exceptional mountain capability. For busy professionals and active adults, applying the minimal effective dose of targeted training yields maximum functional return.
To explore the biomechanics of movement efficiency and functional longevity, review our dedicated strength training principles designed specifically for adults over 40.
If your schedule permits only limited resistance training, prioritize three movements that deliver the highest functional transfer to mountain terrain:
Performing these three movements twice per week requires less than thirty minutes per session while dramatically improving climbing power and descent resilience.
Incorporate trail conditioning into your existing daily routine without adding extra workout blocks:
These small, consistent inputs accumulate significant functional capacity over weeks and months, ensuring your body remains adapted to load-bearing movement.
Mountain environments are dynamic systems where conditions can change rapidly. Managing environmental variables requires clear protocols and proactive decision-making.
Ascending to high elevations presents two distinct challenges: lower absolute oxygen availability and increased physical workload. The Centers for Disease Control and Prevention advises travelers to avoid ascending directly from sea level to sleeping altitudes above 9,000 feet in a single day. The CDC also recommends avoiding heavy physical exertion and alcohol during the first 48 hours above 8,000 feet to allow the cardiovascular system to adapt.
When planning a high-altitude hike:
Never push through worsening altitude symptoms. Cardiovascular fitness does not grant immunity to altitude illness, and proper acclimatization schedules must be respected by all hikers.
Weather at the trailhead rarely matches conditions on an exposed summit or high ridgeline. Mountain temperatures can drop 3.5 to 5.4 degrees Fahrenheit for every 1,000 feet of elevation gain, and exposed ridges amplify wind speeds significantly.
Understanding seasonal and daily weather cycles is essential for mountain safety. In many mountain ranges, summer heating generates predictable afternoon thunderstorms, making early morning departures mandatory.
According to the National Weather Service, no outdoor location is safe during a thunderstorm. When lightning is detected in the area, immediate action is required:
The safest lightning strategy is proactive avoidance. Establish firm turnaround times that ensure you are off exposed ridgelines long before convective clouds develop.
Fueling for sustained mountain travel requires consistent, easily digestible energy and balanced hydration. To optimize metabolic efficiency during sustained physical outings, review our science-backed guidance on nutrition and metabolism.
True outdoor competence relies on standardized systems and disciplined preparation. Following established wilderness safety frameworks ensures you are equipped to handle unexpected events calmly and effectively.
The National Park Service recommends that all hikers carry the 10 Essentials, regardless of trip duration. These items provide the baseline tools needed to navigate, survive sudden weather changes, and manage unexpected delays:
Customize the depth of these essentials to the remoteness and climate of your route, but never eliminate categories entirely.
Before leaving home, construct a written trip plan and leave it with a reliable contact who is not participating in the hike. The National Park Service recommends detailing your precise itinerary so search-and-rescue teams can mobilize efficiently if you become overdue.
Your trip plan should document:
Instruct your emergency contact never to assume you are simply running late if the agreed overdue time passes without contact. A disciplined communication plan provides peace of mind and ensures rapid assistance when genuine emergencies occur.
Thoughtful preparation transforms a demanding hike from an exhausting physical test into an invigorating, empowering mountain experience.
Stay connected for research and practical guidance on longevity, strength, recovery, energy and active living. New ideas to help you stay capable, curious and ready for more.


Explore practical guidance on strength, recovery, energy, travel and longevity for a life that stays active.
explore the Blog