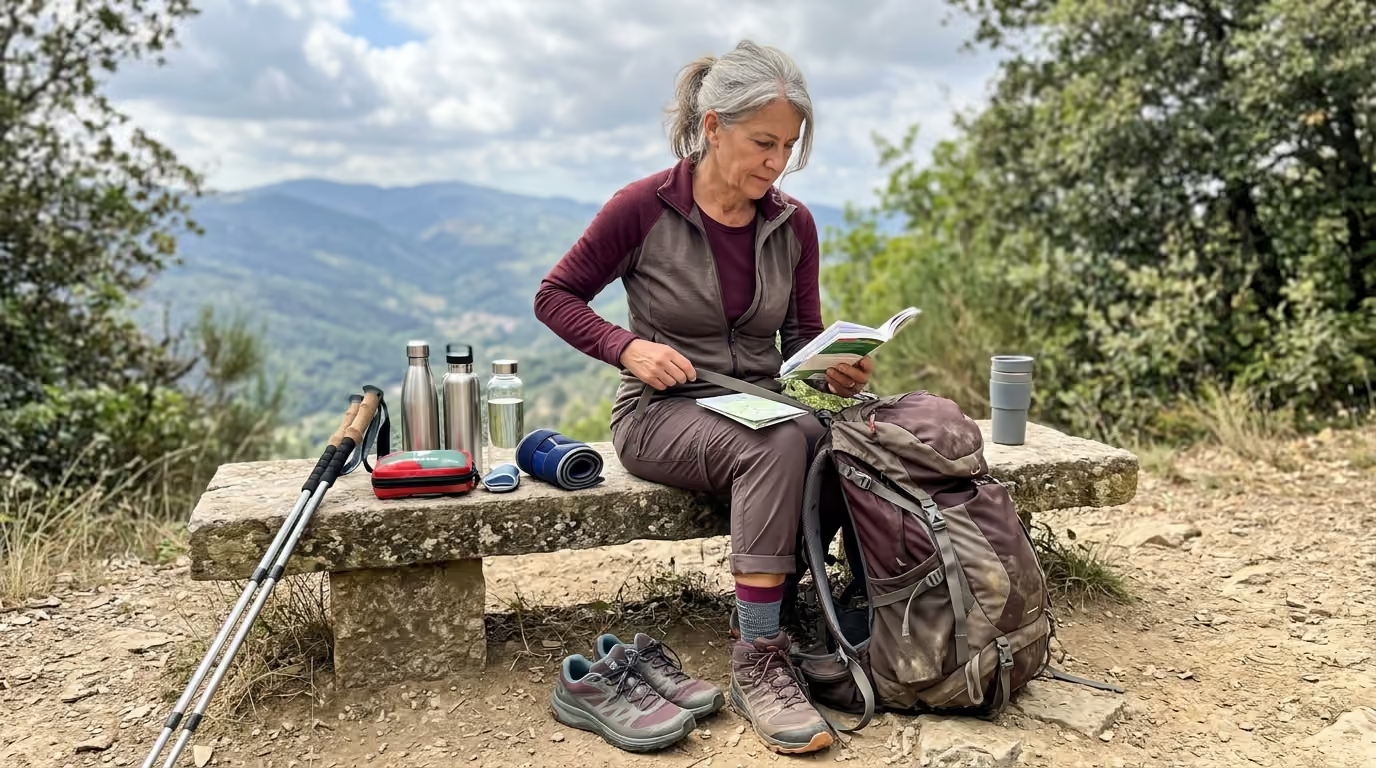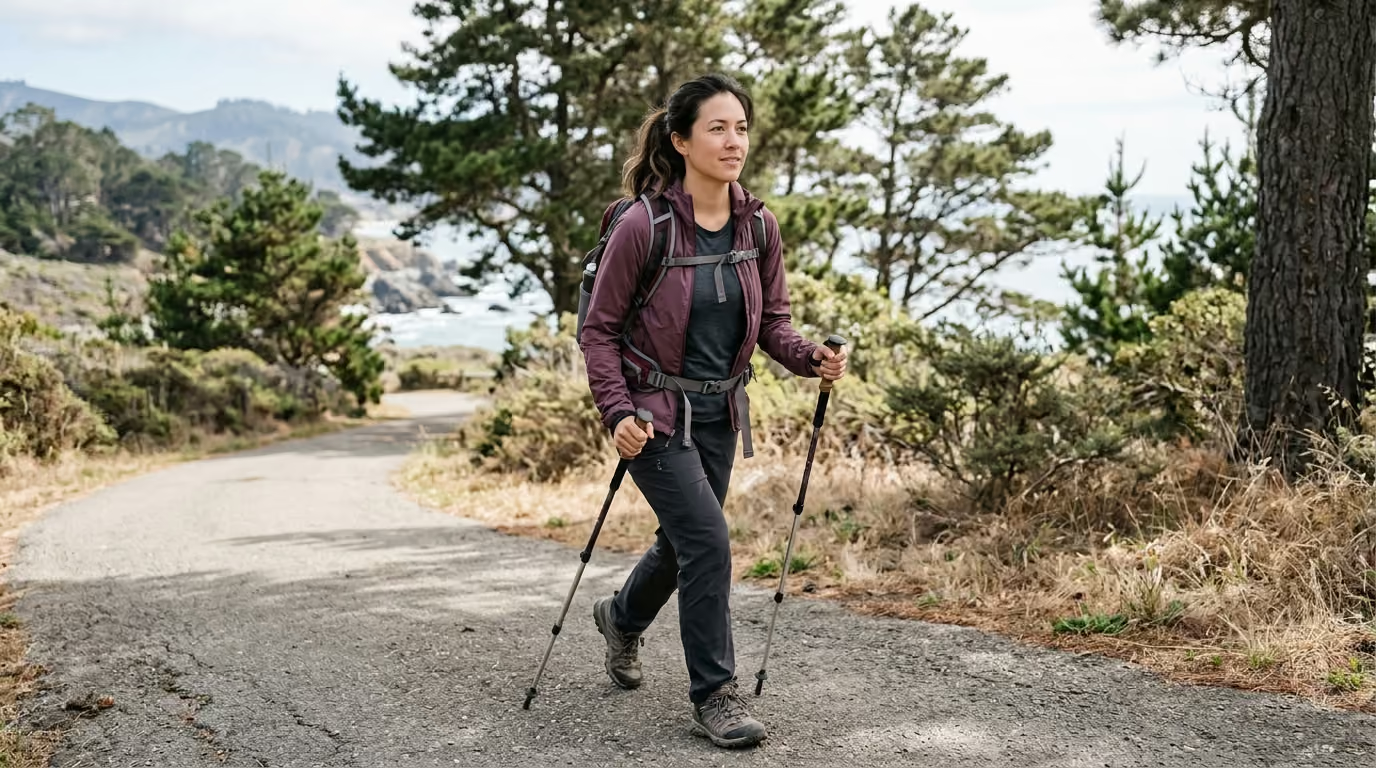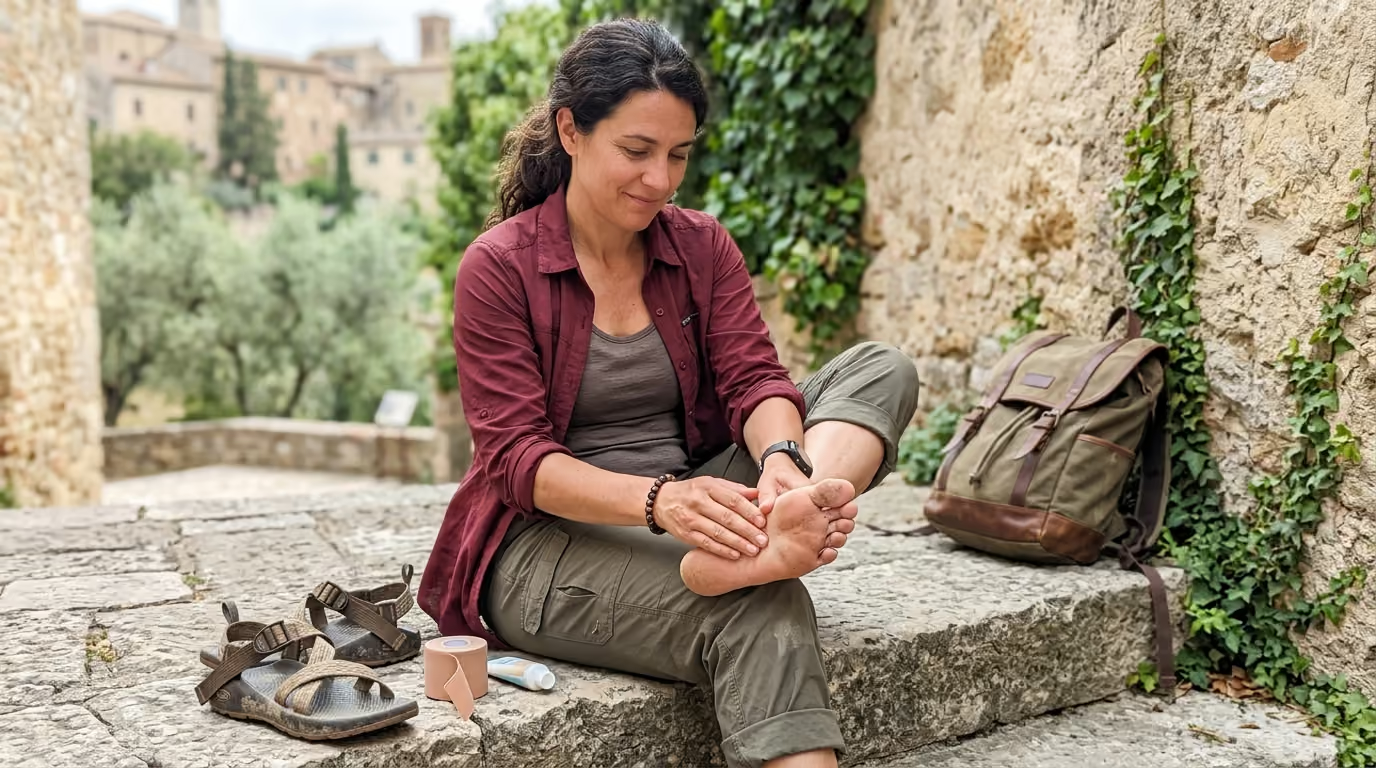

Foot care strategies for active travelers combine footwear selection, blister prevention techniques, and strength training to protect mobility across all terrains.





Foot health for active travel is not simply a matter of buying comfortable walking shoes or soaking tired feet at the end of a long day. It is an active biomechanical system that connects your physical conditioning, your footwear choices, the terrain underfoot, and your body weight to continuous mechanical stress. When managed thoughtfully, this system allows you to cover twenty thousand steps across European cobblestones, climb steep alpine passes, and navigate bustling transport terminals without a second thought. When neglected, even minor friction or modest swelling can bring an ambitious itinerary to an abrupt halt.
This guide provides a comprehensive framework for sustaining foot capability across demanding travel schedules. We examine the physics of friction and load, the real criteria for choosing footwear across distinct terrains, the science of blister prevention, and targeted conditioning for intrinsic foot strength. Whether you are navigating mixed-terrain expeditions or multiday urban itineraries, you will find practical tools to preserve your mobility, comfort, and physical independence.
Long-distance travel places unique stresses on the human foot that rarely occur in everyday domestic life. At home, daily steps are distributed across familiar surfaces, interspersed with periods of rest, and completed in footwear matched to predictable routines. Travel compresses high mileage, variable loads, hard pavements, and unfamiliar terrain into consecutive days with limited opportunity for physical restoration. Under these conditions, the foot acts as both a primary shock absorber and a dynamic lever, transferring thousands of tons of cumulative force through your joints.
To manage these demands effectively, foot health must be evaluated as an interconnected system of six distinct variables. First is fit, which defines how well the shoe matches the three-dimensional shape of your foot while securing the heel. Second is function, ensuring the chosen shoe matches the specific mechanical needs of your itinerary. Third is interface, which includes the socks, insoles, moisture levels, and lacing methods that dictate skin friction. Fourth is load, encompassing body weight, carried packs, elevation gain, and daily walking distance.
The fifth variable is adaptation, which represents your physical readiness and familiarity with the footwear system. The sixth is active monitoring, which is your ability to recognize early warning signs such as localized warmth, skin redness, or mild tingling before they turn into disabling injuries. Foot problems rarely appear without warning. They are the predictable outcome of mechanical stress outstripping your tissue tolerance.
Understanding this six-part model allows you to troubleshoot issues methodically rather than relying on guesswork. A blister on your heel is not simply bad luck. It is a measurable breakdown at the interface level caused by excessive shear, uncontrolled moisture, or poor heel retention. By treating your feet as an integrated performance system, you can build resilience and protect your physical capacity across any itinerary. You can explore further preparation principles through our dedicated travel and human performance resources.
Selecting the right travel footwear begins by classifying your trip by its actual mechanical demands rather than marketing descriptions. A shoe designed for cushioned road walking performs poorly on loose scree, while a stiff mountain boot causes unnecessary fatigue on flat museum floors. Matching footwear to the predominant task ensures you carry adequate protection without suffering from excess weight or restrictive structure.
Urban pavements and historic stone streets present flat, unyielding surfaces that generate repetitive heel-to-toe impact forces. The ideal urban walking shoe provides a stable heel counter, balanced underfoot cushioning, and a smooth tread pattern that encourages fluid forward momentum. The upper should remain breathable to manage heat during prolonged city walking while maintaining enough structural support to prevent excessive foot fatigue.
Long transit days through airports, train stations, and extended flights require a shoe that accommodates normal fluid accumulation and shifts in cabin pressure. Travel-day footwear must be easy to adjust or remove during security screenings, highly breathable, and compatible with your chosen travel socks. It should offer sufficient arch stability and heel security to handle brisk walking across large terminals without causing pressure points across the instep.
For maintained trails, gravel roads, and rolling terrain, trail runners and low-cut light hiking shoes offer a versatile balance of grip and flexibility. They feature multi-directional lugged outsoles for traction, reinforced toe caps to shield against stone strikes, and secure lacing systems. Their lighter weight reduces the energy cost per step compared to heavy boots, making them ideal for mixed itineraries that combine city exploration with day hikes.
Demanding alpine routes, steep rocky descents, and trips involving heavy backpacks demand the torsional rigidity and upper durability of a structured hiking boot. The stiff midsole protects the plantar fascia from flexing excessively over sharp rocks, while the elevated ankle collar shields against abrasive debris. Boots require a deliberate break-in period and add substantial weight, meaning they should be reserved for itineraries that genuinely require their protective profile.
Minimalist shoes feature wide toe boxes, zero heel-to-toe drop, and minimal cushioning to encourage natural foot biomechanics. While they allow full toe splay and increase sensory feedback from the ground, they place significantly higher eccentric loads on your calves, Achilles tendons, and intrinsic foot muscles. They should only be used on high-mileage trips if you have spent several months adapting your feet to unpadded walking.
A lightweight, packable secondary shoe allows your primary walking shoes to dry thoroughly between outings. Recovery footwear gives tired feet a different tactile environment and relieves pressure points created by your primary walking shoes. Look for compact models that offer basic traction and protection for casual evenings without taking up excessive volume in your luggage.
Proper fit is fundamentally distinct from footwear support. Fit describes how well the interior geometry of the shoe matches the physical contours of your foot. Support refers to how the sole and upper control motion and distribute ground reaction forces. A shoe can feature advanced motion-control technology, but if it is too narrow across the forefoot, it will cause painful tissue damage.
Guidelines from the American Academy of Orthopaedic Surgeons recommend shopping for footwear late in the afternoon or at the end of the day. Feet naturally expand and swell by several percent after hours of daily weight-bearing activity. Trying on shoes when your feet are at their maximum volume ensures you do not purchase a model that becomes painfully tight during long travel days. Always measure and fit both feet while standing, as load spreads the metatarsal bones and lengthens the arch.
Ensure there is approximately one-half inch, or about one centimeter, of clear space between the tip of your longest toe and the front edge of the shoe. The toe box must be wide and deep enough to allow your toes to wiggle freely without being squeezed from the sides or compressed from above. Cedars-Sinai clinical guidance notes that while adequate toe room is vital, excessive volume inside the shoe must be avoided. A shoe that is too loose allows the foot to slide forward, generating severe friction and bruised toenails.
Your heel should remain firmly locked in the rear counter without lifting or slipping when you walk. The widest part of your foot should align naturally with the widest part of the sole. When testing new footwear, walk briskly on level ground, ascend and descend stairs, and walk down an incline. Pay close attention to descents. If your toes hit the front of the shoe or your heel lifts upward, you need to adjust the lacing, try an alternative width, or select a different shoe last.
Friction blisters are among the most common physical disruptions encountered during active travel. Research examining multiday walking events shows that blister rates regularly exceed sixty-five to seventy percent among participants. A blister is not an external abrasion. It is an internal mechanical separation of the epidermal layers caused by repeated shear stress, moisture, and heat.
When your foot moves inside a shoe, friction occurs between the skin, the sock, and the shoe lining. If the shoe secures the foot poorly, the skin sticks momentarily to the sock while the deeper skeletal structures continue moving forward. This creates microscopic tearing within the stratum spinosum layer of the epidermis. The body responds by filling the resulting void with sterile plasma fluid, creating an intact blister.
Moisture significantly accelerates this destructive cycle. Sweat and external water over-hydrate the stratum corneum, softening the skin and raising its coefficient of friction. A peer-reviewed study on hiking mechanics established that wet socks increased the risk of developing foot blisters by 1.94 times compared to dry conditions. Keeping the foot environment dry and regulating internal shear forces are the two most reliable ways to maintain skin integrity.
Selecting the right sock system creates a vital defensive buffer between your skin and the shoe lining. While traditional cotton fibers are soft, they absorb and retain water, causing them to collapse and hold moisture against the skin during prolonged exertion. High-performance Merino wool blends naturally regulate temperature, resist odor, and maintain their structural loft even when damp. Synthetic fibers like polyester and acrylic move moisture away from the skin surface toward the outer shoe upper.
An early double-blind study in long-distance runners demonstrated that densely padded acrylic socks generated fewer and smaller blisters than standard cotton socks. However, broader hiking studies indicate that overall moisture management and proper sock fit matter far more than choosing a single fiber type. A sock must fit snugly without bunching, loose folds, or abrasive seams over pressure points.
For travelers prone to interdigital rubbing, toe socks provide a dedicated fabric barrier between each toe. Double-layer socks use an inner liner that slides against an outer sock, transferring mechanical shear away from the skin surface. Densely padded socks provide useful shock absorption, but you must ensure they do not reduce internal shoe volume to the point of causing dorsal nerve compression.
Blister prevention requires immediate action the moment you detect a hot spot. A hot spot is a localized area of warmth, mild stinging, or skin redness that precedes tissue separation. Continuing to walk on a hot spot will inevitably produce a full blister.
If a blister forms despite your precautions, your primary objective shifts to protecting the tissue, relieving pain, and preventing bacterial infection. Do not deliberately unroof an intact blister. The epidermal roof serves as a natural, sterile dressing that protects the delicate raw dermis beneath. Clean the area with antiseptic, apply a hydrocolloid dressing or a donut-shaped foam pad to offload direct pressure, and secure it with breathable tape.
If a blister has already ruptured, clean the wound gently with clean water or an antiseptic wipe. Leave the residual skin roof in place if it is clean and flat, as this shields the underlying nerve endings. Apply a thin layer of antibacterial ointment and cover the wound with a sterile, non-adherent dressing. Monitor the site daily for signs of localized infection, including spreading redness, unusual warmth, purulent discharge, or throbbing pain.
Walking ten to fifteen miles daily on a vacation requires robust muscular capacity from your lower extremities. The foot contains dozens of small intrinsic muscles that stabilize the longitudinal and transverse arches during weight-bearing movement. When these muscles lack conditioning, the continuous load of high-mileage travel transfers directly to the plantar fascia, Achilles tendons, and knee joints, leading to premature fatigue and overuse injuries.
Systematic reviews examining foot-strengthening interventions demonstrate that targeted exercises improve intrinsic muscle cross-sectional area, dynamic balance, and functional stability. While strengthening your feet will not automatically alter your walking biomechanics overnight, it significantly enhances your tissue tolerance to repetitive ground impacts. Building strong feet creates a stable, resilient platform that easily handles uneven cobblestones, rocky paths, and long museum queues.
Foot conditioning should be viewed as an essential component of overall physical preparation. Active adults over forty benefit greatly from combining foot stability exercises with general lower-body conditioning to sustain joint health and mobility. You can find complementary movement strategies in our guide to strength and physical performance.
You do not need complicated gym equipment to build resilient feet. A straightforward, eight-minute bodyweight routine performed three times per week provides an effective training stimulus for active travelers.
Stand barefoot on a flat surface with your feet hip-width apart. Without curling your toes under, actively draw the base of your big toe toward your heel, shortening the foot and lifting your medial longitudinal arch. Hold this contraction for five seconds while keeping your heel and toes flat on the floor, then release smoothly. Perform three sets of ten controlled repetitions per foot.
Sit or stand comfortably with your feet resting flat on the ground. Lift your big toe upward while keeping the smaller four toes firmly pressed into the floor, then switch by pressing the big toe down while lifting the outer four toes. Next, lift all five toes and spread them as wide apart as possible before lowering them back down. Complete three sets of ten cycles to build transverse arch control.
Stand on the edge of a sturdy step with your heels hanging off the back. Rise smoothly onto the balls of both feet, shift your weight slightly, and take three full seconds to lower your heels below the step level. This slow eccentric phase builds tensile strength through the Achilles tendon and calf complex, protecting you against steep uphill and downhill trail fatigue. Complete three sets of ten to twelve repetitions.
Stand barefoot on one leg with a soft, unlocked knee and your hands resting on your hips. Maintain your balance for thirty seconds while focusing on keeping three solid points of contact: the heel, the base of the big toe, and the base of the little toe. To increase the challenge, close your eyes or stand on a folded towel to stimulate deep ankle stabilizers. Complete three sets per side.
Aftermarket insoles and custom orthotics are frequently recommended for foot fatigue, but understanding their true mechanical function is essential before packing them for a trip. An insole is not a magic cure that fixes an ill-fitting shoe. It is a tool designed to alter pressure distribution, increase contact area, and modify tactile feedback across the sole.
Most athletic and walking shoes come equipped with basic stock insoles made of thin, stamped foam. These factory inserts provide minimal cushioning and virtually no structural arch contouring. Aftermarket comfort insoles replace these factory layers with firmer foams, gel pads, or molded composite arches designed to improve cushioning and reduce localized heel pressure.
Custom functional orthoses are prescribed medical devices manufactured from individual foot molds to manage specific clinical conditions like severe plantar fasciitis or posterior tibial tendon dysfunction. A clinical study on long-distance hikers found that customized plantar orthoses served as a protective factor against friction blisters, likely by spreading contact pressure evenly across the plantar surface. However, systematic reviews show low-certainty evidence that medial-support insoles meaningfully alter joint loads during walking or running. Custom orthotics are valuable tools for addressing known pain, but they are not mandatory for every healthy traveler.
One of the most common fitting errors is inserting a thick aftermarket insole into a shoe that already fits snugly. A supportive insole occupies significant vertical space inside the shoe cavity. If your shoe lacks sufficient internal volume, adding a thicker insole will press your dorsal nerves against the tongue and squeeze your toes from above.
Always remove the factory insole entirely before placing an aftermarket insert into your shoe. Check that the new insole lies completely flat without curling up at the edges. When standing in the shoe, confirm that you still have sufficient room to lift your toes and that your heel remains seated deeply inside the heel cup. If the insole elevates your heel too much, your foot will slip out of the collar as you walk, generating severe friction blisters.
Introducing new footwear or switching between fundamentally different shoe categories requires a gradual, structured transition. Never pack a brand-new pair of walking shoes, boots, or custom insoles for a major trip without several weeks of preparatory use. Breaking in footwear is not merely about softening leather uppers. It is about allowing your skin, tendons, and intrinsic muscles to adapt to the specific pressure patterns created by the shoe.
Begin by wearing the new footwear and insole combination around your home for an hour or two each day. Gradually progress to short neighborhood walks on level pavement, checking your feet carefully afterward for signs of localized redness or pressure. Next, complete a series of longer walks that incorporate stairs, inclines, and the actual backpack weight you plan to carry on your trip. This progressive exposure ensures your feet adapt safely and reveals any fit issues while you are still close to home.
Even experienced travelers frequently fall victim to popular footwear myths and packing shortcuts that compromise their comfort. Correcting these misconceptions helps you make evidence-based decisions when selecting gear and planning your daily walking routines.
While buying shoes with adequate length is critical, purchasing shoes that are excessively large creates serious mechanical problems. An oversized shoe has too much internal volume, allowing your foot to slide forward on descents and move side-to-side on uneven ground. This uncontrolled sliding creates intense shear stress across the heel and ball of the foot, accelerating blister formation rather than preventing it. Fit your shoes with roughly one-half inch of toe clearance while ensuring the heel and midfoot are securely locked in place.
When your toes strike the front of the shoe on steep descents, the instinctive reaction is to crank down all the laces as tightly as possible. Overtightening the entire lacing system compresses the delicate dorsal nerves and blood vessels across the top of your foot, causing numbness and throbbing pain. The correct solution is to use a zoned lacing technique or a heel-lock knot. This locks your heel firmly into the rear of the shoe while leaving comfortable slack across the forefoot.
Many travelers believe that a high-cut boot completely eliminates the risk of an ankle sprain. While a structured boot protects the lower leg against abrasive rocks and scree, it cannot replace physical balance, steady foot placement, and adequate traction. In some cases, an overly rigid boot restricts natural ankle articulation, transferring rotational stress directly upward into the knee joint. Focus on building ankle stability and selecting an outsole with appropriate rubber grip for your terrain.
Plush, oversized foam midsoles feel comfortable when standing in a shop, but maximum cushioning is not universally superior for long-distance walking. Highly compliant, thick midsoles isolate your foot from sensory feedback and can create lateral instability on uneven cobblestones or rough trails. A moderately cushioned, stable shoe that allows predictable ground feel is often far less fatiguing over full days of mixed walking.
The weight on your back and the time you spend seated in transit directly affect lower-limb mechanics and fluid balance. Managing these operational factors protects your feet from excessive pressure and circulation issues before you take your first walking steps.
Carrying a heavy backpack fundamentally alters your walking gait and increases the mechanical load delivered to your feet. Research examining the biomechanics of hiking reveals that carrying a load equal to ten percent of your body weight increases forefoot peak pressure by more than five percent. Increasing that pack weight to twenty percent of body weight spikes forefoot pressures by nearly nine percent, while rearfoot heel pressures climb by ten percent.
These elevated pressures compress the fat pads beneath your heel and metatarsal heads, accelerating fatigue and raising skin shear forces. Furthermore, clinical studies of long-distance hikers show a direct correlation between heavy pack weight and the onset of paresthesias, which present as tingling, burning, or numbness across the toes. If you experience numbness while walking with a pack, stop immediately. Remove the pack, loosen your footwear, and inspect your feet rather than attempting to push through the loss of sensation.
Extended travel by air, rail, or car involves hours of prolonged sitting with knees bent and feet resting on the floor. This posture promotes venous pooling and dependent edema in the lower legs, causing your feet to swell significantly before you even reach your destination.
Guidelines from the Centers for Disease Control and Prevention advise long-distance travelers to stand up and walk periodically, choose an aisle seat when possible, and perform regular calf muscle pumps while seated. Contracting the calf muscles activates your natural venous pump, driving pooled blood and lymph fluid out of the lower extremities back toward the heart.
For travelers with known risk factors for deep vein thrombosis or chronic venous insufficiency, the CDC Yellow Book notes that properly fitted, graduated knee-high compression stockings providing 15 to 30 mmHg of pressure at the ankle can reduce fluid retention and clot risk. Compression stockings are not routinely required for healthy individuals without elevated risk profiles, and travelers with peripheral artery disease or neuropathy should consult a physician before using medical compression.
Travelers living with diabetes, peripheral neuropathy, or compromised peripheral circulation require a dedicated foot safety protocol. Neuropathy impairs the sensory nerves that detect pain, friction, heat, and pressure. A traveler with reduced sensation may walk for miles with a severe hot spot, foreign pebble, or open ulcer inside their shoe without feeling any discomfort.
Guidance from the American Diabetes Association emphasizes that relying on comfort or pain is unsafe when sensory neuropathy is present. Travelers with diabetes must visually inspect their feet every morning and evening under bright light, using a compact travel mirror or a smartphone camera to examine the bottoms of their heels and forefeet. Never walk barefoot around hotel rooms, pool decks, or sandy beaches. Shake out your shoes and feel inside them with your hand before putting them on to ensure no grit, small stones, or folded linings are present. For deeper recovery strategies to manage travel fatigue, review our guide to recovery and sleep.
Preparation turns into performance when you assemble a practical, lightweight foot-care system designed for quick deployment in the field. Having the right tools easily accessible in your daypack prevents minor hot spots from evolving into trip-altering wounds.
Except for ultra-minimalist weekend trips, active travelers should generally pack a two-shoe system. Relying entirely on a single pair of shoes is risky on active itineraries. If your primary shoes become soaked during a sudden rainstorm or saturated with heavy sweat, they may take up to twenty-four to forty-eight hours to dry fully. Wearing damp shoes the following morning softens the skin and almost doubles your blister risk.
Your primary footwear should be the pair matched to your highest-mileage or highest-risk activity, such as your broken-in light hikers or technical walking shoes. Your secondary pair should be a lightweight, comfortable urban shoe or breathable sneaker. Alternating between these pairs changes the pressure points on your feet, gives your footwear foam time to decompress, and ensures you always have dry footwear ready.
Keep a compact, self-contained foot-care kit in an easily accessible pocket of your daypack rather than buried at the bottom of your main luggage.
Examining real-world challenges illustrates how to apply these biomechanical principles effectively during active trips.
A traveler experiences burning pain on the back of their heels on the third day of exploring a European city in comfortable casual sneakers. The investigation reveals that smooth stone sidewalks combined with warm weather caused foot sweat and minor heel lift.
The intervention is straightforward. The traveler cleans and dries the skin, applies paper tape over the irritated hot spots, and switches to a snug-fitting Merino wool blend sock. They then re-lace their shoes using the top eyelet to secure the heel, eliminating the internal slip and continuing their trip without further pain.
A hiker encounters steady rain on a mountain trail, soaking their trail runners and socks. Recognizing that wet footwear increases blister risk, they stop at a covered shelter, dry their feet thoroughly with a microfiber towel, and change into a dry pair of spare socks stored in their pack.
Upon reaching their evening lodge, they remove the shoe insoles completely, loosen the laces, and stuff the shoes with dry paper to absorb interior moisture overnight. By morning, their footwear is dry and ready for the next stage, avoiding skin maceration.
Maintaining strong, healthy feet does not require complex routines or heavy gear. It relies on a consistent, repeatable approach to footwear selection, moisture management, and physical conditioning.
Approach your feet as the foundation of your lifelong physical capability and travel independence. Invest the time to fit your footwear properly at the end of the day, test your full shoe and pack setup before departure, and listen closely to early warning signs on the road. By addressing hot spots immediately and maintaining basic foot conditioning, you protect your mobility and ensure you can fully engage with every travel adventure. For more guidance on sustaining vitality across all aspects of life, explore our healthy aging and living well articles.
It is generally best to leave an intact blister unopened, as the skin roof serves as a sterile barrier against bacterial infection. However, if a large, tense blister on the sole makes normal walking impossible, it can be drained with extreme care. Clean the area thoroughly with an antiseptic wipe, sterilize a clean needle, and make a tiny puncture at the base of the blister to allow the fluid to drain while leaving the skin roof completely intact. Apply an antiseptic ointment and cover the site with a hydrocolloid dressing. Never attempt to drain a blister if you have diabetes, neuropathy, or vascular compromise.
Subungual hematomas, commonly known as black toenails, occur when the toes repeatedly slam into the front of the shoe box during downhill walking. Ensure your footwear has roughly one-half inch of space ahead of your longest toe when standing. Before beginning a long descent, stop and tighten your laces across the instep, or use a heel-lock lacing technique to prevent your foot from sliding forward. Keep your toenails trimmed straight across and filed smooth before departing on your trip.
Waterproof membranes are valuable in cold, snowy, or consistently wet, muddy environments. However, in warm or dry climates, waterproof linings significantly reduce breathability, trapping sweat inside the shoe and over-hydrating your skin. Furthermore, if water enters a waterproof shoe over the collar, it cannot easily drain or dry out. For warm-weather trips and mixed urban itineraries, a highly breathable, non-waterproof shoe that dries quickly is often the superior choice.
Mild foot swelling during long flights is common due to prolonged sitting and gravity-induced fluid pooling. Stand up and walk the cabin aisle every hour, and complete thirty seated calf raises and ankle circles every thirty minutes to engage your calf muscle pump. Drink plenty of water and avoid excessive sodium intake before and during the flight. If you have a medical history of venous issues or blood clots, speak with your doctor about wearing fitted graduated compression stockings during transit.
Stay connected for research and practical guidance on longevity, strength, recovery, energy and active living. New ideas to help you stay capable, curious and ready for more.


Explore practical guidance on strength, recovery, energy, travel and longevity for a life that stays active.
explore the Blog