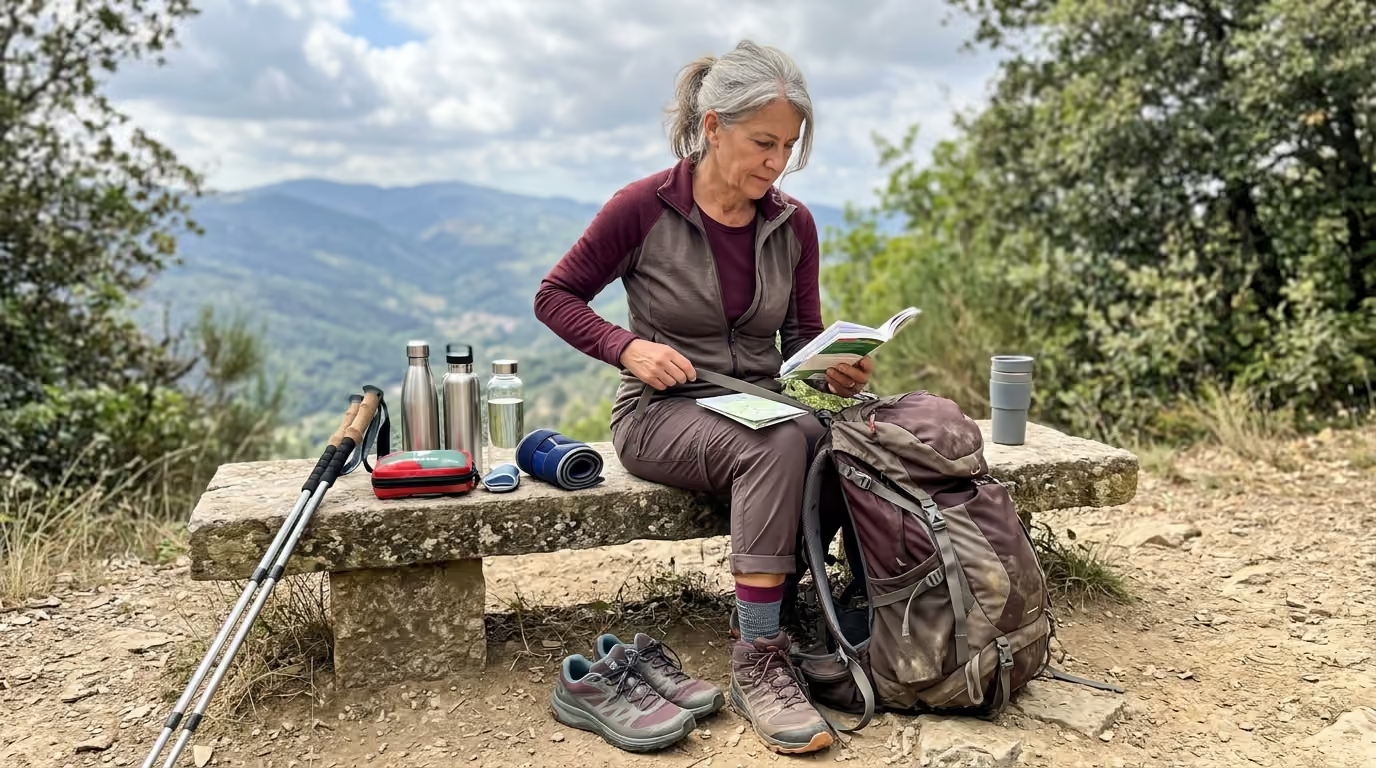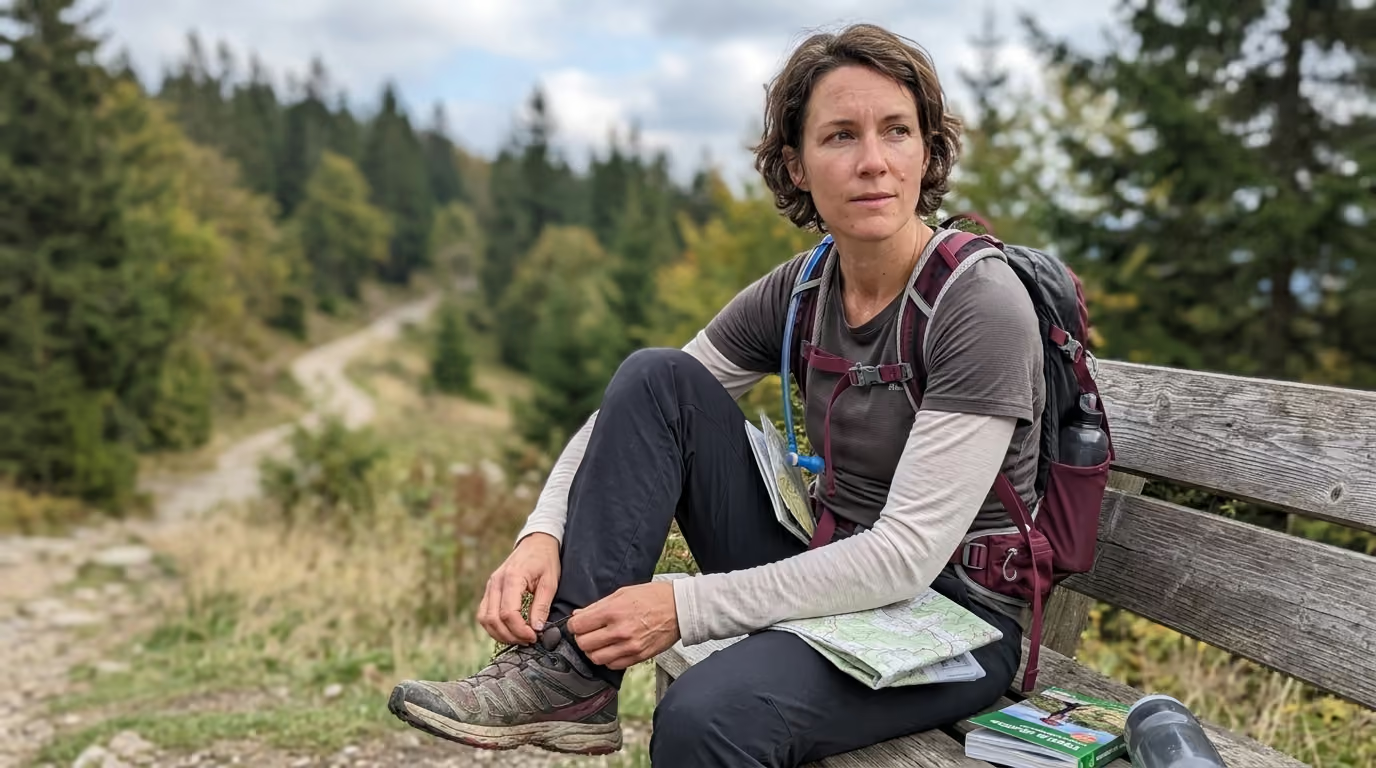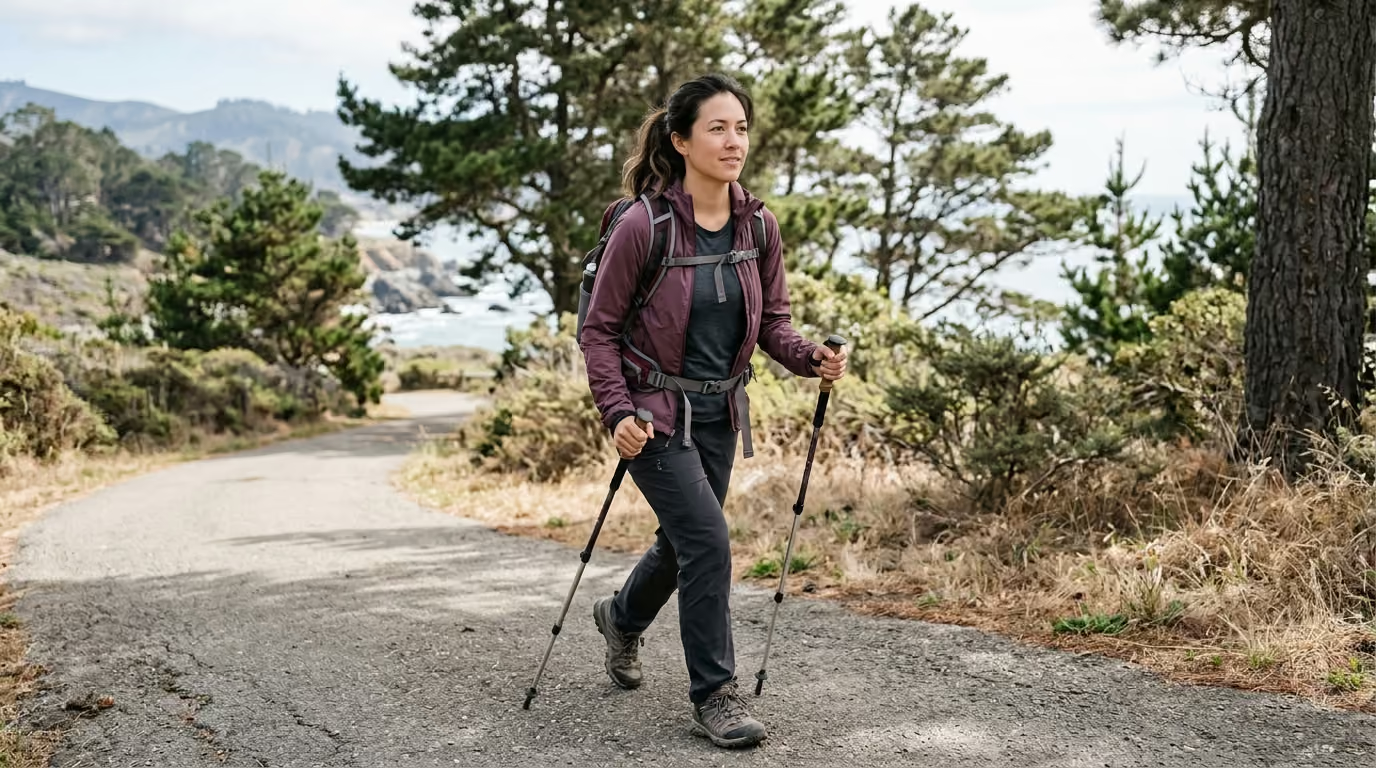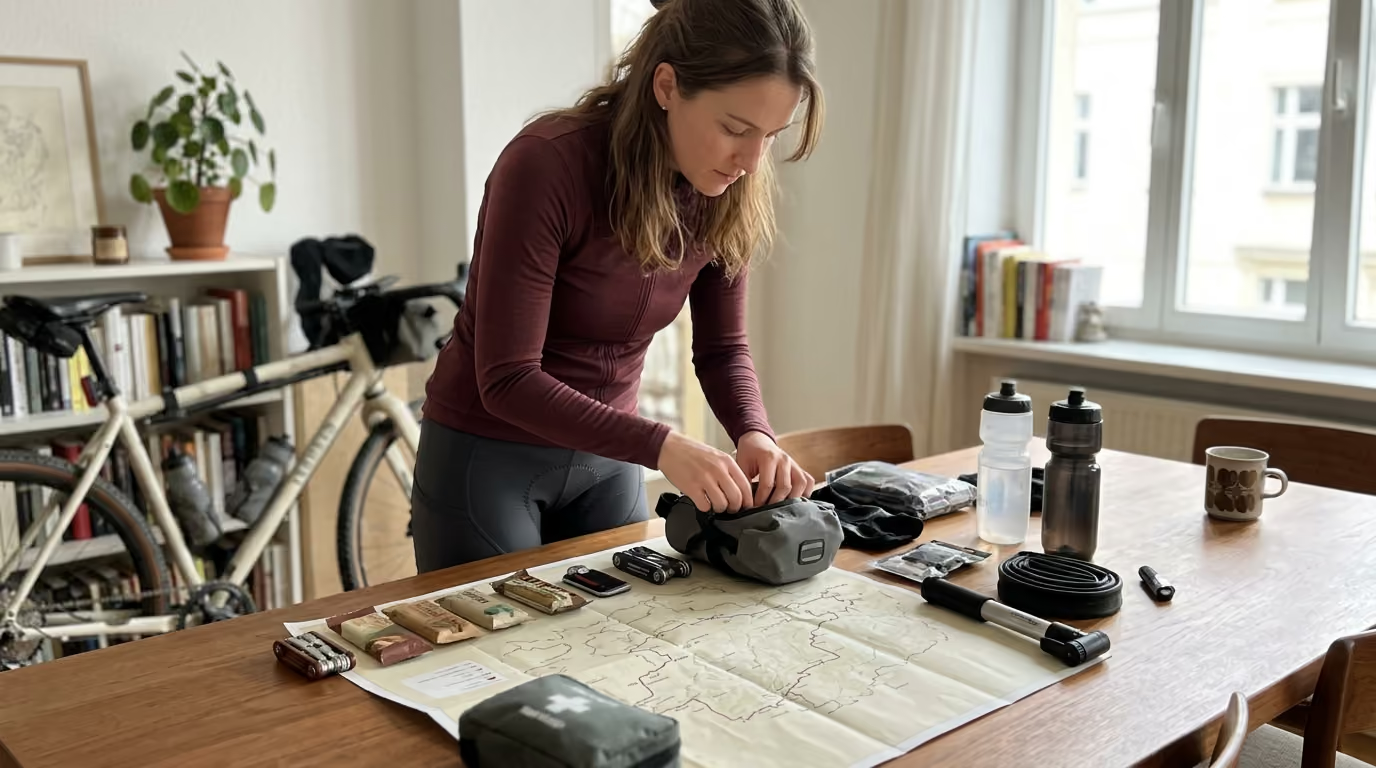

Multi-day cycling travel requires dedicated preparation across training, equipment setup, nutrition, and daily recovery to maintain physical comfort and endurance on the road.





You wake up on the third morning of a week-long journey across the hills of Tuscany or the coastal roads of Mallorca. The sun is shining, the route is spectacular, but your neck is stiff, your hands feel tingly, and sitting on your saddle feels unbearable. Your cardiovascular fitness is not the problem. The challenge is that your body and your equipment were prepared for a single weekend ride, not for the repeated physical stress of multi-day travel.
A successful cycling trip is fundamentally a repeated-performance challenge. You must produce manageable aerobic power, tolerate hours of contact with the bicycle, control a loaded frame, digest nutrition while moving, and recover well enough to repeat the effort tomorrow. The real objective of your preparation is repeatable comfort and control, not maximum single-day speed.
Preparing for a destination ride requires a complete look at the actual physical demands of the itinerary. A conventional training plan often focuses entirely on weekly mileage or high-intensity intervals. Multi-day touring, however, introduces systemic stressors that rarely show up on a single Sunday club ride.
To build an effective preparation strategy, you must address six distinct operational pillars:
The guiding rule of your preparation is specificity. Your training should closely match the expected terrain, daily duration, riding posture, luggage load, and climate of your target destination. Completing a single 100-kilometer ride at home does not guarantee you can comfortably handle four consecutive 70-kilometer days with luggage over mountain passes.
Before you begin structured training, conduct a thorough audit of your itinerary. Measure the trip in total moving hours, elevation gain, and surface types rather than flat distance. A 60-kilometer gravel route with steep gradients and headwinds often requires far more energy than a 100-kilometer paved stage along a flat valley.
Riding several days in succession changes human physiology in ways that a single day of exertion does not. During an isolated training ride, your body relies on readily available glycogen stores and finishes before postural fatigue fully compromises your biomechanics. When you ride day after day, muscle glycogen availability progressively declines if refueling is incomplete, while low-grade muscle damage accumulates.
Holding a forward-leaning posture on a bicycle demands sustained isometric work from the extensor muscles of the spine, the neck, and the shoulder girdle. As these postural muscles fatigue over four to six hours, riders tend to lock their elbows or collapse their core. This shifting posture transfers excessive pressure directly onto the hands, wrists, and perineal area, rapidly accelerating nerve compression and saddle irritation.
Sustained aerobic volume requires a foundation of efficient fat oxidation and robust mitochondrial density. The World Health Organization recommends that adults accumulate 150 to 300 minutes of moderate-intensity aerobic activity per week, or 75 to 150 minutes of vigorous activity, alongside major muscle strengthening on at least two days per week. For a multi-day cycling holiday, these public health benchmarks serve as an absolute baseline rather than a complete preparation plan.
Your training must build physical repeatability. Repeatability depends on developing an aerobic engine that can clear metabolic byproducts at moderate intensities while sparing precious carbohydrate stores for steep climbs. When you train your body to produce power comfortably below your ventilatory threshold, you protect your hormonal balance, immune system, and nervous system from excessive depletion across a long tour.
Understanding these physiological stressors allows you to approach your journey with a clear strategy. To explore comprehensive conditioning frameworks that support active travel, read our detailed guide on functional strength for endurance.
Preparing your cardiovascular system for a cycling holiday requires progressive, low-intensity volume. A frequent error among recreational riders is attempting to compensate for limited time by making every training session a hard, high-intensity workout. While interval training improves top-end power, it creates substantial central nervous system fatigue and fails to build the local tissue durability needed for six hours in the saddle.
Your training program should center on one primary long ride each week, complemented by two or three shorter, steady sessions. As your departure date approaches, introduce back-to-back riding days on weekends. Riding three to four hours on Saturday followed by three hours on Sunday provides a true test of your saddle tolerance, nutritional systems, and recovery capacity.
To apply progressive overload safely, adjust only one or two training variables at a time:
Increase your weekly ride duration first, then gradually introduce climbing, and finally add consecutive riding days. Once your body tolerates the duration and elevation, introduce your luggage setup during training rides. This step-by-step progression makes it easy to identify the exact cause of any developing discomfort, knee strain, or excessive fatigue.
The final training block should conclude two to three weeks before departure to allow full physiological recovery. Research on endurance athletes demonstrates that an effective taper lasting up to 21 days involves reducing total training volume by 41 to 60 percent while maintaining exercise intensity and frequency. This reduction sheds accumulated physical fatigue while preserving mitochondrial adaptations and cardiovascular fitness.
A practical cycling travel taper does not mean sitting on the couch. Maintain your normal riding schedule, but significantly shorten each session while including a few short efforts at your planned climbing pace. Do not attempt maximal fitness tests or introduce unfamiliar workouts in the final fourteen days before travel. Arriving at your destination fresh, rested, and pain-free is far more valuable than trying to gain a tiny fraction of fitness at the last minute.
Strength training plays a critical role in injury prevention and postural stability on long rides. Target the quadriceps, gluteal complex, hamstrings, calves, trunk stabilizers, and upper back on two non-consecutive days per week. In the final week before travel, reduce strength volume and use familiar, moderate loads to avoid delayed-onset muscle soreness during your first day of travel.
Your bicycle must fit your current anatomy, mobility, and the specific demands of multi-day riding. A racing position that feels fast during a one-hour local ride can become agonizing after four consecutive days of touring. Biomechanical research published in sports medicine literature demonstrates that individualized bike fitting is associated with significant reductions in lower-back pain and self-reported discomfort across key contact points.
A travel-focused bike fit should allow you to maintain a relaxed, stable torso without excessive rocking or bracing. Your elbows should maintain a slight, shock-absorbing bend rather than locking straight. You must be able to reach your brake levers and gear shifters easily without stretching your neck or straining your shoulders.
Fit adjustments must be small, measured, and tested over multiple rides. Changing saddle height, handlebar reach, cleat angles, and stem length simultaneously makes it impossible to know which adjustment helped or created a problem. Once your position is dialed in, record your saddle height, saddle setback, and handlebar angle with exact measurements, or mark your seatpost with durable tape to ensure accurate reassembly after flights or train transfers.
Saddle discomfort ruins more cycling holidays than lack of fitness. Riders often assume that saddle soreness is simply an unavoidable rite of passage that requires mental toughness. In reality, saddle pain indicates excessive localized pressure, poor pelvis orientation, friction, or an incompatible saddle shape.
Pressure distribution studies show that saddle width, shape, tilt, and cutout designs significantly influence soft tissue compression and blood flow. A saddle that supports your ischial tuberosities (sit bones) without compressing delicate perineal nerves and blood vessels is essential. When you test a saddle, evaluate it alongside the specific cycling shorts and chamois cream you plan to use on your trip.
To maintain skin health throughout your journey, follow a strict hygiene protocol:
If early skin irritation develops, treat it immediately with a soothing, antibacterial barrier cream and reduce friction. Never attempt to ride through a painful, infected lesion or an open saddle sore. Prevention through proper saddle selection, progressive training exposure, and strict daily hygiene is your best defense against contact point injuries.
Prolonged pressure on the handlebars can compress the ulnar and median nerves, causing numbness, tingling, or weakness in the fingers. To protect your hands and wrists, adjust your cockpit to allow multiple hand positions throughout the day. Drop handlebars on road or gravel bikes naturally provide tops, hoods, and drops, allowing you to shift your upper body posture regularly.
Keep your wrists in a neutral alignment rather than hyperextended when resting on the controls. If you ride a flat-bar bicycle, install ergonomic grips with broad palm supports or integrated bar ends to vary your grip angle. Check your tire pressure as well, since running excessively high pressure on rough roads transmits unnecessary vibration through your hands, shoulders, and cervical spine.
For more insights on keeping your joints and soft tissues resilient across demanding environments, see our resources on active travel and adventure planning.
Adding luggage to a bicycle fundamentally alters its dynamics. Luggage increases overall weight, raises the center of gravity, lengthens braking distances, slows down steering, and changes how the bicycle responds to crosswinds. If you have only ridden an unloaded bicycle, the first hour on a loaded machine can feel unstable and demanding.
Weight distribution is the primary factor in loaded bike handling. Keep heavy items low down and close to the frame's center to maintain stability. Avoid placing heavy gear high on a rear rack or packing dense items into a large handlebar bag, as this destabilizes low-speed steering and makes climbing out of the saddle awkward.
Different travel styles require different luggage configurations. Choose a system that fits your route, surface type, and gear volume:
Avoid carrying a heavy backpack while cycling. Prolonged weight on your shoulders compresses your cervical spine, restricts thoracic mobility, traps heat against your back, and accelerates hand numbness. If you must carry a backpack, choose a lightweight model with a supportive waist strap and carry only light, bulky items like a rain jacket.
Never embark on a cycling holiday without conducting at least one fully loaded shakedown ride. Load your bicycle with the exact gear, tools, spares, and clothing you plan to carry, then complete a 50-kilometer test ride. Include steep climbs, technical descents, emergency braking drills, and tight turns to verify stability and eliminate equipment rattles.
Transporting your bicycle by air or rail requires careful preparation and systematic assembly:
Taking the time to pack and reassemble your machine methodically prevents mechanical issues that could disrupt your trip.
Nutrition on a multi-day tour is not about strict sports dieting. It is about maintaining steady blood glucose, protecting muscle glycogen stores, and ensuring rapid recovery between stages. When you underfuel a ride, you not only struggle on the final climb of the day, but you also compromise your immune function and impair your sleep quality that night.
Scientific consensus on endurance exercise recommends consuming 30 to 60 grams of carbohydrate per hour for efforts lasting between one and two and a half hours. For long, demanding stages exceeding three hours, carbohydrate intake can be increased up to 90 grams per hour using a combination of glucose and fructose sources. These numbers represent targets for sustained physical performance, which you can adjust based on your body mass, riding intensity, and ambient temperature.
Begin fueling early during each stage rather than waiting until you feel hungry. Consume a steady mix of portable whole foods, such as dried fruit, small sandwiches, energy bars, and carbohydrate electrolyte drinks. In the first one to four hours before departing, consume a balanced pre-ride meal providing approximately 1 to 4 grams of carbohydrate per kilogram of body weight, keeping fat and excessive fiber moderate to prevent digestive discomfort.
Your recovery fueling begins the moment you step off the bicycle. Clinical exercise guidelines recommend consuming 1.0 to 1.2 grams of carbohydrate per kilogram of body weight per hour during the initial four hours following exhaustive exercise when another demanding session occurs within 24 hours. Pairing this carbohydrate intake with 20 to 30 grams of high-quality protein supports muscle protein synthesis and accelerates tissue repair.
For touring cyclists enjoying local cuisine at destination hotels, recovery nutrition can easily integrate into regular meals. Enjoy wholesome, carbohydrate-rich regional foods such as pasta, rice, potatoes, fresh bread, and lean proteins. Reserve commercial sports recovery shakes for remote stages or situations where finding a proper meal is delayed.
Gut training during your preparation phase is vital. Never use new energy gels, high-concentration drink mixes, or unfamiliar electrolyte tablets for the first time during your trip. Practice your fueling plan during your long weekend training rides to condition your gastrointestinal system to absorb fluids and carbohydrates under sustained physical effort.
Hydration strategy requires balancing fluid intake to prevent both excessive dehydration and fluid overload. The American College of Sports Medicine position stand highlights that prehydration should ensure you begin exercise euhydrated with normal electrolyte concentrations. Fluid loss during exercise should generally be managed to prevent greater than 2 percent body mass loss without causing body weight gain from overdrinking.
During prolonged cycling in warm weather, sweating depletes both water and essential electrolytes, primarily sodium. Drinking excessive amounts of plain water without adequate sodium during long, hot stages can dilute blood sodium levels, leading to dangerous exercise-associated hyponatremia. Consume sodium-containing fluids or eat savory, salted snacks alongside your water intake on warm riding days.
To restore fluid balance after each stage, sports nutrition guidelines suggest consuming approximately 125 to 150 percent of the fluid volume lost through sweat over the subsequent recovery hours. Check your morning urine color as a simple daily metric; pale straw-colored urine generally indicates adequate systemic hydration, while dark amber urine signals the need for continued fluid replacement before rolling out.
To explore foundational metabolic health strategies that optimize daily energy, explore our travel human performance guides.
Route design directly impacts physical performance, safety, and overall enjoyment. A poorly planned route that sends cyclists down dangerous high-speed highways, across unrideable gravel, or into headwalls without water access turns an enjoyable vacation into an exhausting ordeal. Modern navigation requires designing routes around verified surfaces, elevation gradients, and strategic resupply points.
When creating daily routes on platforms like Komoot, Strava, or Ride with GPS, analyze the elevation profile carefully. Look for sustained steep pitches exceeding 10 percent, which dramatically increase muscular strain and deplete glycogen reserves. Always cross-reference satellite imagery and local cycling forums to confirm road surface conditions, construction closures, and tunnel safety regulations.
Establish clear decision points along each stage where you can choose between the primary route, a scenic detour, or an abbreviated shortcut. Download complete offline maps onto two separate devices, such as a dedicated GPS handlebar unit and your smartphone. Carrying a lightweight external power bank ensures your navigation devices remain powered during long days in remote regions.
Weather significantly alters the energy cost of a stage. High ambient heat, relentless headwinds, and sudden mountain downpours demand immediate changes to your pacing, clothing, and hydration plans. Data published by the National Highway Traffic Safety Administration reveals that bicyclist fatalities peak during the summer and early autumn months, highlighting why seasonal traffic density and daylight hours must factor directly into route selection.
Prepare for adverse environmental conditions with proactive operational strategies:
Proactive route planning removes unnecessary stress and allows you to focus fully on the physical experience of riding through remarkable landscapes.
Recovery between consecutive riding stages is a systematic process that combines rehydration, nutrition, soft-tissue care, and restorative sleep. When you finish a four-to-six-hour ride, your body is in a catabolic state with depleted glycogen, mild muscle microtrauma, and elevated stress hormones. What you do in the three hours following a stage largely determines how well you perform the next morning.
Establish a consistent post-ride sequence immediately upon arriving at your destination:
For a deeper look into sleep science, travel adaptation, and systemic recovery protocols, review our guide to sleep and physiological restoration.
Each evening, conduct a brief, objective self-assessment to determine your strategy for the following day. Consensus literature on athlete monitoring recommends using simple subjective markers alongside physical readiness to make smart adjustments. Classify your readiness using a straightforward traffic-light system:
The discipline to choose an amber or red modification when your body requires it is a sign of smart trip management, not a failure. It preserves your health and ensures you can successfully complete the remainder of your journey. To discover more practical frameworks for systemic recovery, visit our section on recovery and regeneration strategies.
Many active riders run into avoidable issues because they rely on common cycling myths rather than proven sports science. Addressing these misconceptions early in your preparation saves you from pain and frustration during your holiday.
Completing an isolated 100-kilometer ride on familiar home roads does not prove your readiness for a multi-day tour. A single ride fails to test repeated glycogen depletion, cumulative saddle pressure, sleep disruption, loaded bicycle handling, or continuous mountain climbing. Your training must include back-to-back riding days and loaded shakedown rides to accurately simulate travel demands.
Riders often assume that an ultra-plush, heavily padded gel saddle will resolve saddle discomfort. Excessive soft padding actually compresses under your sit bones, causing the displaced material to push upward into the delicate soft tissues and nerves of the perineum. True long-distance comfort comes from a firm, anatomically matched saddle shape, proper saddle height, supportive bib shorts, and progressive tissue adaptation.
A professional bike fit is an invaluable tool for optimizing comfort, improving pedaling efficiency, and resolving postural strain. However, sports medicine research indicates that a bike fit alone does not eliminate injury risk if training volume, climbing intensity, or luggage loads are increased too rapidly. Bike fit works hand-in-hand with smart load management, functional strength, and adequate physical recovery.
Recreational touring cyclists often believe that specialized fueling strategies belong exclusively to professional peloton riders. In reality, a touring cyclist spending five to seven hours pedaling over mountain terrain burns massive amounts of glycogen. Consuming steady carbohydrates on the bike protects your immune function, spares muscle tissue, maintains cognitive sharpness on technical descents, and prevents end-of-day exhaustion.
Hydration is not a matter of drinking continuously until your stomach feels full. Overconsuming plain water during long, sweaty rides can wash out sodium levels and cause exercise-associated hyponatremia. Match your fluid intake to your actual sweat rate and always include electrolytes and balanced foods on warm, demanding stages.
Cramming training volume into the final two weeks before travel produces residual fatigue without adding meaningful aerobic fitness. Arriving at your destination with tired legs, inflamed tendons, or low-grade soreness compromises your entire experience. Execute a structured two-week taper that cuts volume while keeping your legs sharp and fully rested.
Examining real-world preparation scenarios illustrates how to apply these training, fitting, and recovery principles to common travel challenges.
A 48-year-old cyclist possessed excellent cardiovascular fitness from regular indoor cycling and weekend road rides. On day two of a cycling tour through the Pyrenees, he developed severe neck tension, lower back tightness, and numbness in his outer fingers. His aggressive, low handlebar position worked well for fast one-hour rides but placed excessive isometric stress on his spine during six-hour mountain stages with a handlebar bag.
The solution involved raising his handlebar height by 15 millimeters using headset spacers, shortening his stem by 10 millimeters, and rotating his brake hoods upward to create a neutral wrist angle. He also introduced daily thoracic extension and neck mobility drills each evening. These small adjustments relieved the mechanical pressure on his cervical spine and restored finger sensation within 48 hours.
A capable rider handled steep mountain passes with ease during the first two days of a high-altitude tour, setting a fast pace on every ascent. By the morning of day four, her legs felt completely empty, her climbing speed plummeted, and she struggled to stay with her touring group. Her issue was not lack of climbing power, but poor energetic repeatability caused by racing up climbs and failing to refuel adequately.
Her recovery plan required adjusting her on-bike nutrition from sporadic snacking to a structured 60 grams of carbohydrate per hour using electrolyte drinks and easily digestible energy bars. She capped her climbing effort at a steady aerobic heart rate rather than surging on steep pitches. At the end of each stage, she prioritized an immediate recovery meal followed by early sleep, allowing her to regain steady climbing endurance for the remainder of the tour.
An ambitious cyclist decided to save weight on a self-guided tour through the Scottish Highlands by carrying only one water bottle, minimal warm clothing, and no physical navigation backups. On day three, sudden mountain rains dropped temperatures to 6 degrees Celsius while an unexpected road closure forced a 25-kilometer detour through remote terrain with no cell reception. His smartphone battery died from the cold, leaving him stranded without navigation or adequate thermal protection.
He resolved the situation safely by finding shelter at a rural farm, but the experience highlighted the dangers of fragile ultralight packing. His revised protocol included carrying a lightweight waterproof jacket, thermal gloves, two water bottles, an external battery pack, and offline maps downloaded onto a standalone GPS head unit. True travel readiness prioritizes safety, navigation redundancy, and thermal protection over extreme weight savings.
A dedicated rider prepared diligently for a week-long tour in the Alps. On the first morning, he decided to use highly concentrated, multi-source carbohydrate drink mixes and high-caffeine energy gels that he had never used during training. Within two hours, he experienced severe stomach cramping, bloating, and nausea, forcing him to stop repeatedly and ride at a fraction of his normal pace.
The rider corrected the issue by switching immediately to plain water, diluted local apple juice, bananas, and simple bread rolls for the next two days. Once his digestive system settled, he maintained a steady intake of familiar, whole-food carbohydrates that matched his normal dietary habits. His experience reinforces the foundational rule of endurance nutrition: never experiment with new sports products on the first day of a trip.
A touring group planned a summer route across southern Portugal that featured a 90-kilometer stage across an exposed, unshaded plateau. The evening weather forecast predicted an unexpected heatwave with afternoon temperatures reaching 38 degrees Celsius. Rather than attempting the original plan, the group revised their operational strategy the night before.
They moved their departure time forward to 6:00 AM to complete 60 kilometers before peak heat, added two pre-planned water refill stops at rural cafes, and carried double their normal electrolyte supplies. They also identified a train station at kilometer 70 that served as a reliable bailout option if anyone showed early signs of heat exhaustion. By adjusting their schedule and logistical plan before rolling out, the group completed the stage safely and comfortably.
If you are a busy professional with limited weekly training hours, you do not need a 15-hour weekly training schedule to prepare successfully for a cycling holiday. Focus your energy on the minimal effective dose of high-impact preparation habits that deliver maximum physical resilience and comfort.
Execute this straightforward weekly blueprint during the eight to twelve weeks leading up to your trip:
This targeted approach builds the specific endurance, contact point durability, and mechanical confidence you need to enjoy your cycling holiday without requiring an overwhelming lifestyle overhaul.
Return to this preparation guide at three specific milestones: twelve weeks before your trip to establish your training progression and equipment plan, four weeks out to conduct your loaded shakedown rides and fit checks, and two days before departure to finalize your packing, nutrition, and travel logistics.
Mastering these straightforward preparation habits ensures you arrive at your destination confident, capable, and ready to experience the pure freedom of multi-day cycling travel.
Stay connected for research and practical guidance on longevity, strength, recovery, energy and active living. New ideas to help you stay capable, curious and ready for more.


Explore practical guidance on strength, recovery, energy, travel and longevity for a life that stays active.
explore the Blog